
The Singer Stitch Sew Quick manual is a comprehensive guide for optimal use, detailing safety, threading, and maintenance; It ensures a seamless sewing experience for all skill levels.
1.1 Overview of the Singer Stitch Sew Quick Sewing Machine
The Singer Stitch Sew Quick is a portable, handheld mending machine designed for quick repairs and small sewing projects. It offers ease of use with a rotating dial for precise stitching control. Ideal for various fabrics, it features a compact design, on/off switch, and thread tension adjustment. Perfect for beginners and experienced users alike, it simplifies sewing tasks with its user-friendly interface and essential functions.
1.2 Importance of Reading the Manual for Optimal Use
Reading the Singer Stitch Sew Quick manual is essential for understanding its features and proper operation. It provides safety guidelines, threading instructions, and maintenance tips to ensure longevity. The manual also offers troubleshooting solutions and fabric handling advice, helping users avoid common issues. By following the guide, users can master advanced stitching techniques and optimize their sewing experience. It serves as a comprehensive resource for both beginners and experienced sewists to get the most out of their machine.
Safety Precautions and Instructions
Always follow safety guidelines to ensure safe operation. Keep fingers away from the needle and use the rotating dial carefully to avoid damage or injury.
2.1 General Safety Guidelines for Operating the Machine
Always turn off the machine before threading or making adjustments. Keep loose clothing and long hair tied back. Use the rotating dial to control the needle carefully. Avoid forcing the needle through fabric. Keep children away while operating. Ensure the machine is placed on a stable, flat surface. Never touch the needle or other moving parts with your fingers. Avoid contact with eyes or skin. Follow all safety instructions to prevent accidents and ensure safe operation.
2.2 Understanding the On/Off Switch and Power Management
The Singer Stitch Sew Quick features a slide-type on/off switch located for easy access. To turn it on, slide the switch forward with your thumb. Always ensure the machine is off before threading, replacing the bobbin, or making adjustments. For handheld models, power management is straightforward, as it operates on batteries or an adapter. Replace batteries with 4AA-sized ones when needed. Always turn off the machine when not in use to conserve power and ensure safety during maintenance or adjustments.
Parts Diagram and Components
The Singer Stitch Sew Quick includes components like the needle arm, tension control, on/off button, adapter inlet, set screw, and presser foot lifter, essential for smooth operation.
3.1 Identifying Key Components of the Stitch Sew Quick
The Singer Stitch Sew Quick features essential components like the needle arm, tension control, on/off button, adapter inlet, set screw, and presser foot lifter. These parts ensure precise stitching and easy operation. The needle arm holds the needle, while the tension control regulates thread tightness. The on/off button powers the machine, and the adapter inlet connects to a power source. The set screw secures parts, and the presser foot lifter helps manage fabric movement, making sewing efficient and straightforward for users of all levels.
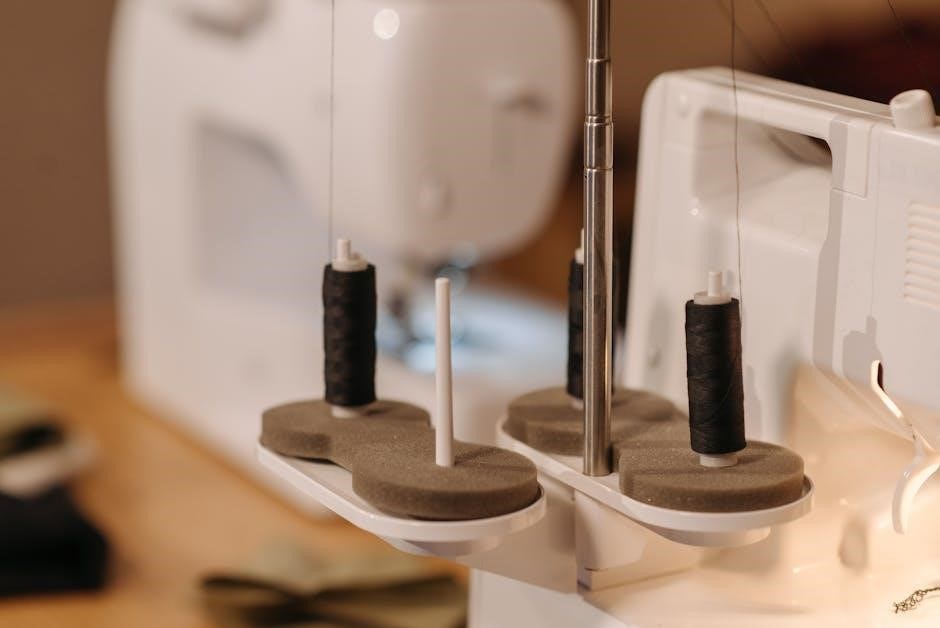
3.2 Understanding the Tension Control and Bobbin System
The Singer Stitch Sew Quick features a user-friendly tension control system that allows precise thread regulation for consistent stitching. The bobbin system uses a Class 15 metal bobbin, ensuring smooth thread flow. Properly installing and adjusting the bobbin is essential for optimal performance. The tension control knob fine-tunes thread tightness, preventing loose or tight stitches. Regular maintenance, like cleaning and lubricating, keeps the bobbin system functioning smoothly, ensuring high-quality stitching and extending the machine’s lifespan.
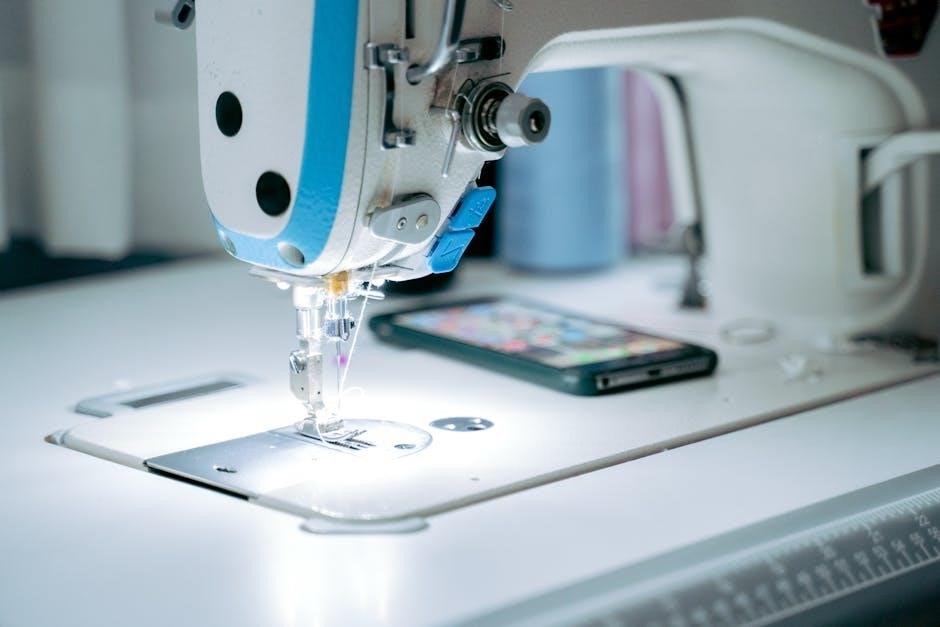
Threading the Machine
Threading the Singer Stitch Sew Quick involves guiding the thread through the machine’s tension discs and taking it through the needle. Proper threading ensures even stitching and prevents jams. Always pull 2 inches of thread through the needle before sewing. If threading is tricky, refer to the manual’s visual guide for step-by-step instructions to ensure correct thread placement and tension adjustment.
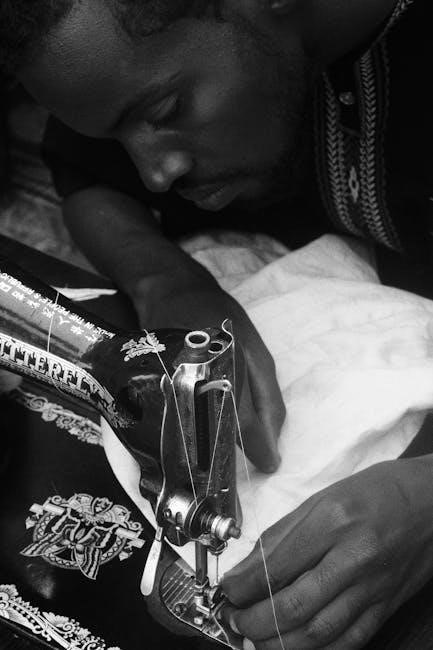
4.1 Step-by-Step Guide to Threading the Needle
Threading the Singer Stitch Sew Quick needle requires precision. Begin by ensuring the machine is off. Locate the spool pin and gently pull the thread through the tension discs. Guide the thread through the take-up lever and then insert it into the needle’s eye from front to back. Pull the thread firmly to secure it, leaving at least 2 inches loose. Proper threading ensures smooth stitching and prevents thread breakage during sewing. Follow the manual’s diagram for accurate guidance, and avoid over-tightening to maintain optimal tension. This process is crucial for achieving consistent stitches and troubleshooting common issues like uneven sewing or thread jams. By adhering to these steps, users can ensure their machine operates efficiently and effectively. Always refer to the manual for visual aids if threading becomes challenging. With practice, this process becomes quick and effortless, enhancing the overall sewing experience. Proper threading is the foundation of successful sewing projects, making it essential to master this technique early on.
4.2 Proper Thread Tension Adjustment Techniques
Adjusting thread tension on the Singer Stitch Sew Quick ensures balanced stitching. Locate the tension disc and turn it clockwise to tighten or counterclockwise to loosen. Test stitches on scrap fabric to achieve even tension. Proper adjustment prevents loose or puckered fabric. Avoid over-tightening, as it may damage the machine or cause thread breakage. If the bobbin tension is uneven, gently adjust the small screw on the bobbin case. Ensure the thread flows smoothly through the tension discs and take-up lever for optimal results. This step is crucial for consistent stitching quality and machine performance. Regularly check and adjust tension to maintain seamless sewing experiences. Proper tension adjustment enhances fabric control and reduces the risk of common sewing issues. Always refer to the manual for specific guidance on tension settings for different fabric types. By mastering this technique, users can achieve professional-grade stitches effortlessly.
Basic Sewing Operations
This section covers essential sewing operations, starting a stitch, controlling fabric movement, and securing threads. It provides a foundation for smooth and precise stitching experiences.
5.1 Starting a Stitch and Controlling Fabric Movement
Begin by pulling at least 2 inches of thread through the needle. Place the fabric under the needle, ensuring it’s aligned properly. Slide the On/Off switch forward to start stitching. Use your left hand to gently guide the fabric, controlling its movement and speed. For precision, utilize the rotating dial to adjust stitching direction. Always maintain a steady hand to ensure even stitches and prevent fabric bunching.
5.2 Securing the Thread and Tying Knots
To secure the thread, start by turning off the machine. Lift the fastening plate and carefully tie a knot at the end of the thread. Ensure the knot is snug but not too bulky to avoid fabric bunching. Trim excess thread close to the knot for a neat finish. This step prevents loose threads and ensures your stitches remain secure. Always maintain a steady hand during this process for professional-looking results.

Advanced Sewing Features and Tips
Discover advanced sewing features and expert tips for easily achieving precision stitching, customizable settings, and troubleshooting common issues to elevate your sewing projects.
6.1 Using the Rotating Dial for Precision Stitching
Master precise stitching with the rotating dial, allowing you to adjust stitch length and width seamlessly. This feature ensures consistent results, especially for intricate designs and delicate fabrics.
6.2 Troubleshooting Common Issues During Sewing
Identify and resolve common sewing issues quickly. If the machine doesn’t turn on, check the power switch and battery installation. For uneven stitches, ensure proper threading and tension adjustment. If fabric doesn’t move, verify the presser foot is lifted; Regularly clean the machine to prevent jams. Always refer to the manual for detailed solutions and maintenance tips to keep your Singer Stitch Sew Quick performing optimally.
Maintenance and Care
Regularly clean and lubricate the machine to prevent dust buildup. Replace the bobbin as needed, using a Class 15 metal bobbin. Refer to the manual for detailed tips.
7.1 Cleaning and Lubricating the Machine
To maintain the Singer Stitch Sew Quick, turn it off and unplug it. Use a soft brush to remove lint and debris from the needle area and bobbin compartment. Dampen a cloth with water or mild detergent to wipe exterior surfaces, avoiding harsh chemicals. Apply a few drops of sewing machine oil to moving parts, as indicated in the manual. Regular cleaning and lubrication ensure smooth operation and extend the machine’s lifespan.
7.2 Replacing the Bobbin and Batteries
To replace the bobbin, turn off the machine and remove the old one. Insert a new Class 15 metal bobbin, ensuring it fits securely. For batteries, use 4AA alkaline batteries. Turn off the machine, open the battery compartment, and replace the old batteries with new ones. Close the compartment and test the machine to ensure proper function. Always refer to the manual for specific diagrams and instructions to avoid damaging the machine during replacement.
Additional Resources and Support
The Singer Stitch Sew Quick manual is available as a free PDF download. For additional support, visit the Singer website for FAQs, troubleshooting guides, and customer service contact information.
8.1 Accessing the Full PDF Manual Online
The Singer Stitch Sew Quick manual is readily available online as a free PDF download. Visit the official Singer website or trusted platforms like PDFmanualsdownload to access it. The manual provides detailed instructions, diagrams, and troubleshooting tips. Download the PDF to enjoy easy navigation and offline access. Ensure you have Adobe Acrobat Reader installed to view the file. This resource is essential for understanding the machine’s features and optimizing its performance.
8.2 Frequently Asked Questions and Solutions
Common questions about the Singer Stitch Sew Quick include threading issues, bobbin replacement, and battery installation. For threading, ensure the machine is off and follow the manual’s step-by-step guide. To replace the bobbin, loosen the nut and slide it out. For battery replacement, use 4AA batteries and refer to the diagram. Visit the Singer website or consult the FAQ section in the PDF manual for detailed solutions and troubleshooting tips to resolve these and other common issues efficiently.
No Responses